Title here
Summary here
Setting up ETLBox is quick and straightforward. In just a few steps, you can integrate ETLBox into your project and start building powerful, code-first ETL pipelines.
Before you get started, make sure your environment meets the following requirements:
The easiest way to add ETLBox to your project is through NuGet. Follow these steps:
ETLBox in the Browse tab.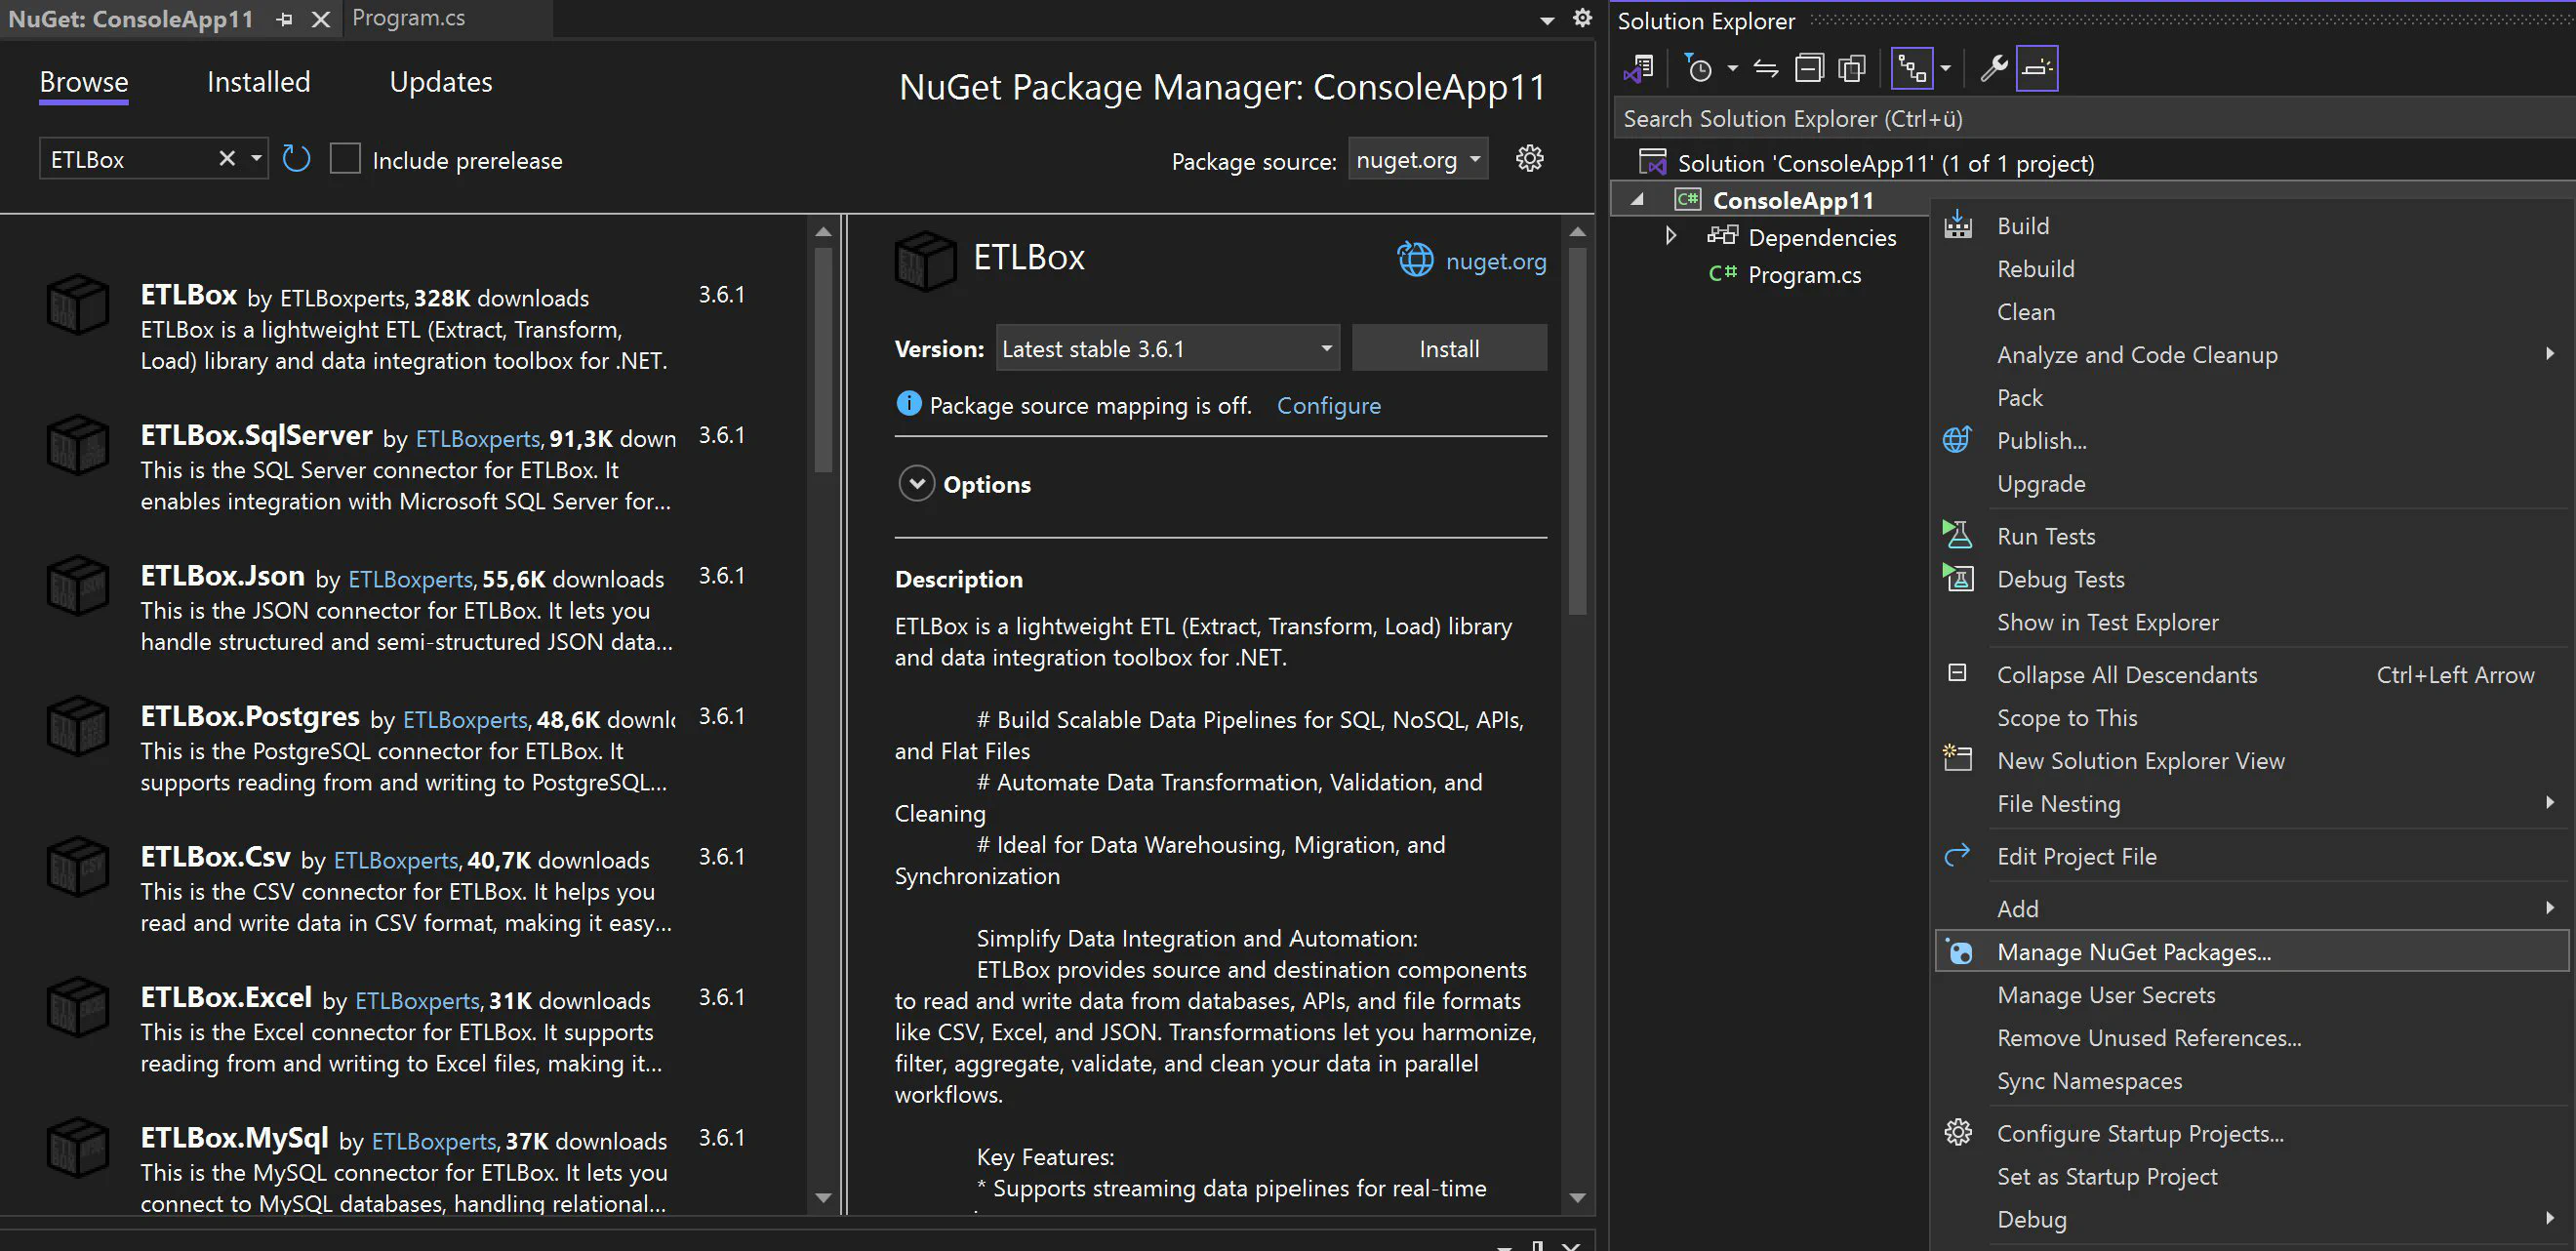
If you prefer the command line, run the following command(s) in your terminal. You will always need the core package (ETLBox).
Depending on your use case, you might need additional packages. For example:
ETLBox.SqlServer.ETLBox.Json.Once installed, you can start using ETLBox by adding the necessary using directives to your code. For example:
using ETLBox.DataFlow;
using ETLBox.Json;Here’s a quick example to verify everything is set up correctly. This example reads data from a REST API and loads it into a memory object, which is then printed to the console output:
using ETLBox.DataFlow;
using ETLBox.Json;

//Define components
var jsonSource = new JsonSource();
jsonSource.Uri = "https://www.etlbox.net/api/simple";
jsonSource.ResourceType = ETLBox.ResourceType.Http;
var memDest = new MemoryDestination();

jsonSource.LinkTo(memDest); //Linking compontents
await Network.ExecuteAsync(jsonSource); //Executing the flow

//Print data to console output
foreach (dynamic record in memDest.Data)
Console.WriteLine($"Id: {record.Id}, Value: {record.Value}");If you encounter any issues during installation, consider these tips:
dotnet nuget locals all --clearWith ETLBox installed and configured, you’re ready to start building robust ETL pipelines! Go to the Quick Start Guide for a step-by-step walkthrough.